I’m slowly moving towards a zigbee home automation enviroment. Everything Zigbee is getting cheaper and cheaper, be it bulbs, buttons, temporature sensors, door/window sensors etc etc. I hate the idea though that all these devices need their own hubs to talk to your smart devices like Alexa, that’s just bs. Who wants a dozen hubs, or to get stuck with one manufacturer that doesn’t cover all bases or offers some sensors at higher price points than others.
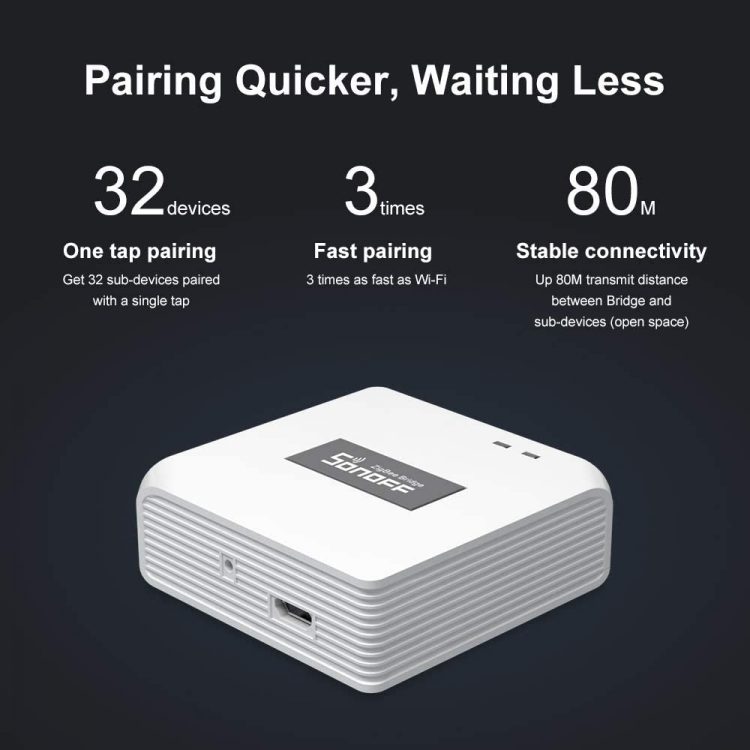
So this is where creating a hub that can talk to any Zigbee device comes in, and Sonoff have made a great hub. Much like their RF hub that I also flashed with Tasmota, this little box is powered via a standard microusb connection, connects to your wifi, sits there and listens for a zigbee device and then (when flashed with Tasmota) sends that data to your HomeAssistant installation. If you didn’t flash it, all you’d be able to use it with is other Sonoff devices, rubbish.

Firstly, get yourself the hub, it’s less than £20 on Amazon, or cheaper on Aliexpress if you can wait a month. You’ll need a flashing device like one of these and a few jumper wires. I’ve always this stuff about the house as messing about with electronics is something I often do. You can flash Tasmota with a PC, Mac or linux machine, you can use a raspberrypi or an Arduino, I just use the small usb flasher, its easier imo.
So heres the Sonoff bridge, first thing to do is remove the small rubber feet, underneath are four phillips head screws, remove them, and then pop out the board.
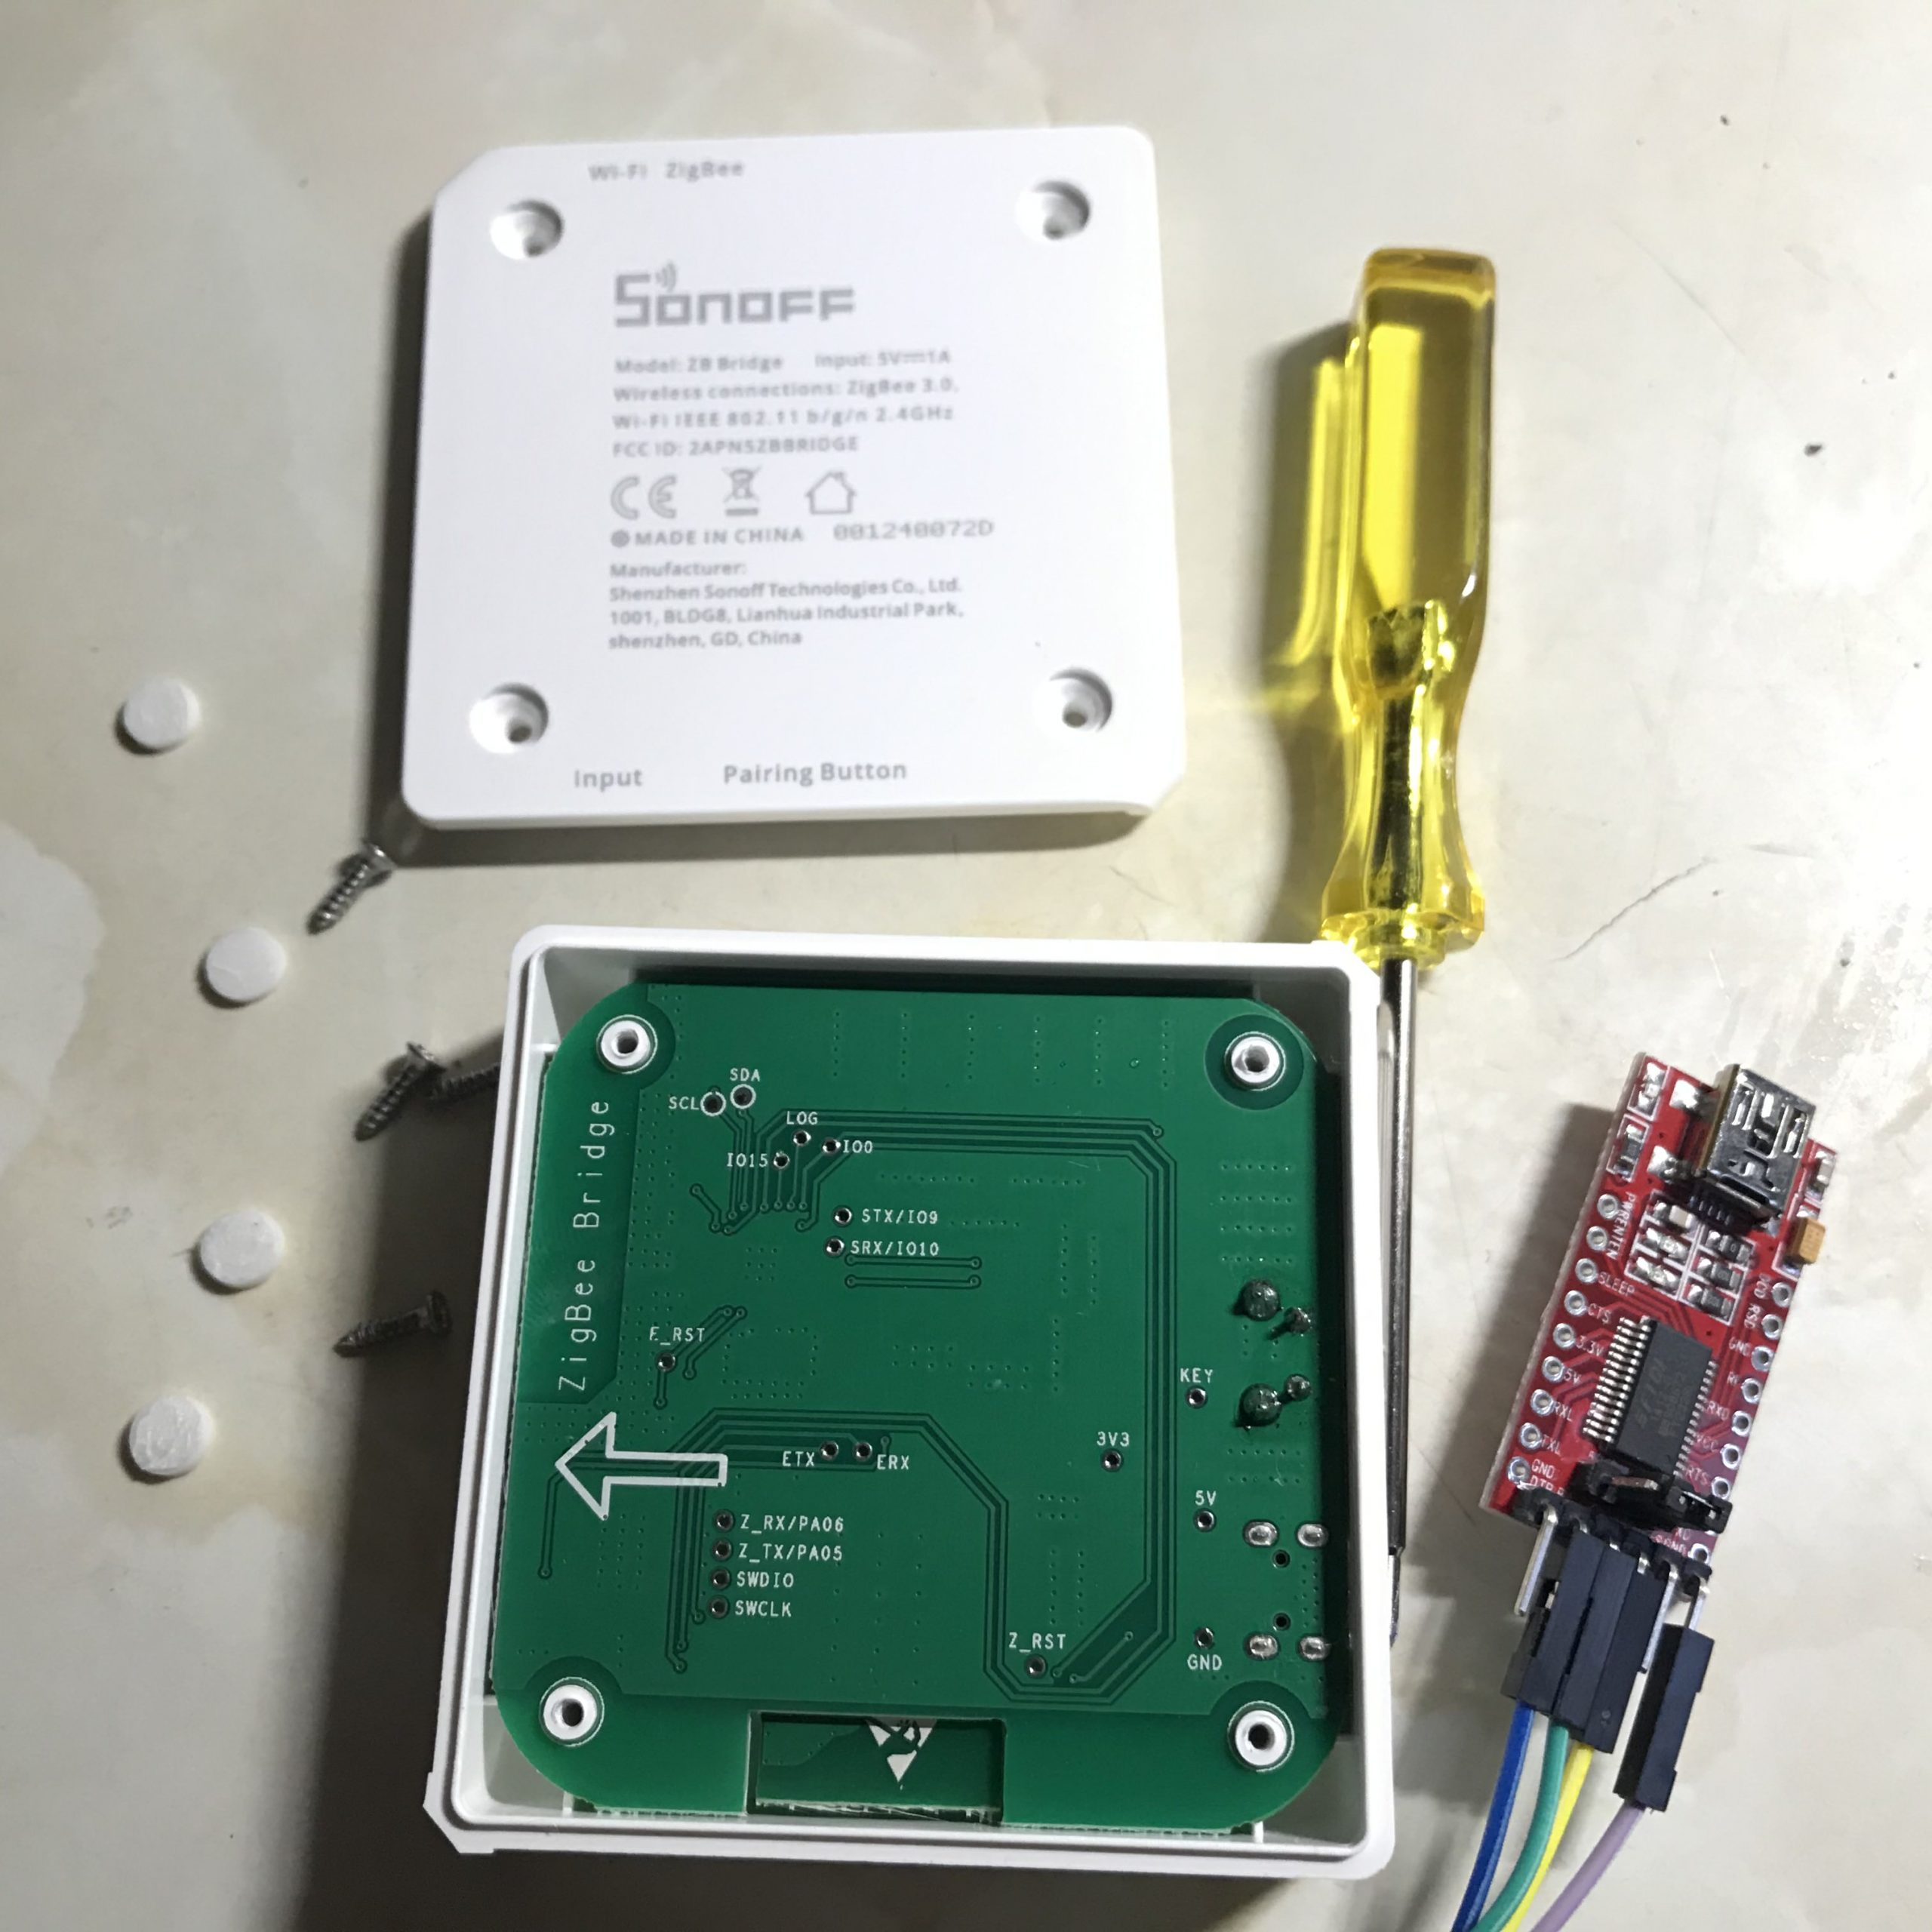
Note the board has a few tiny holes, these perfectly fit prototyping wires that have pins on each end, which is what makes this a solderless job. We only need to connect four wires.


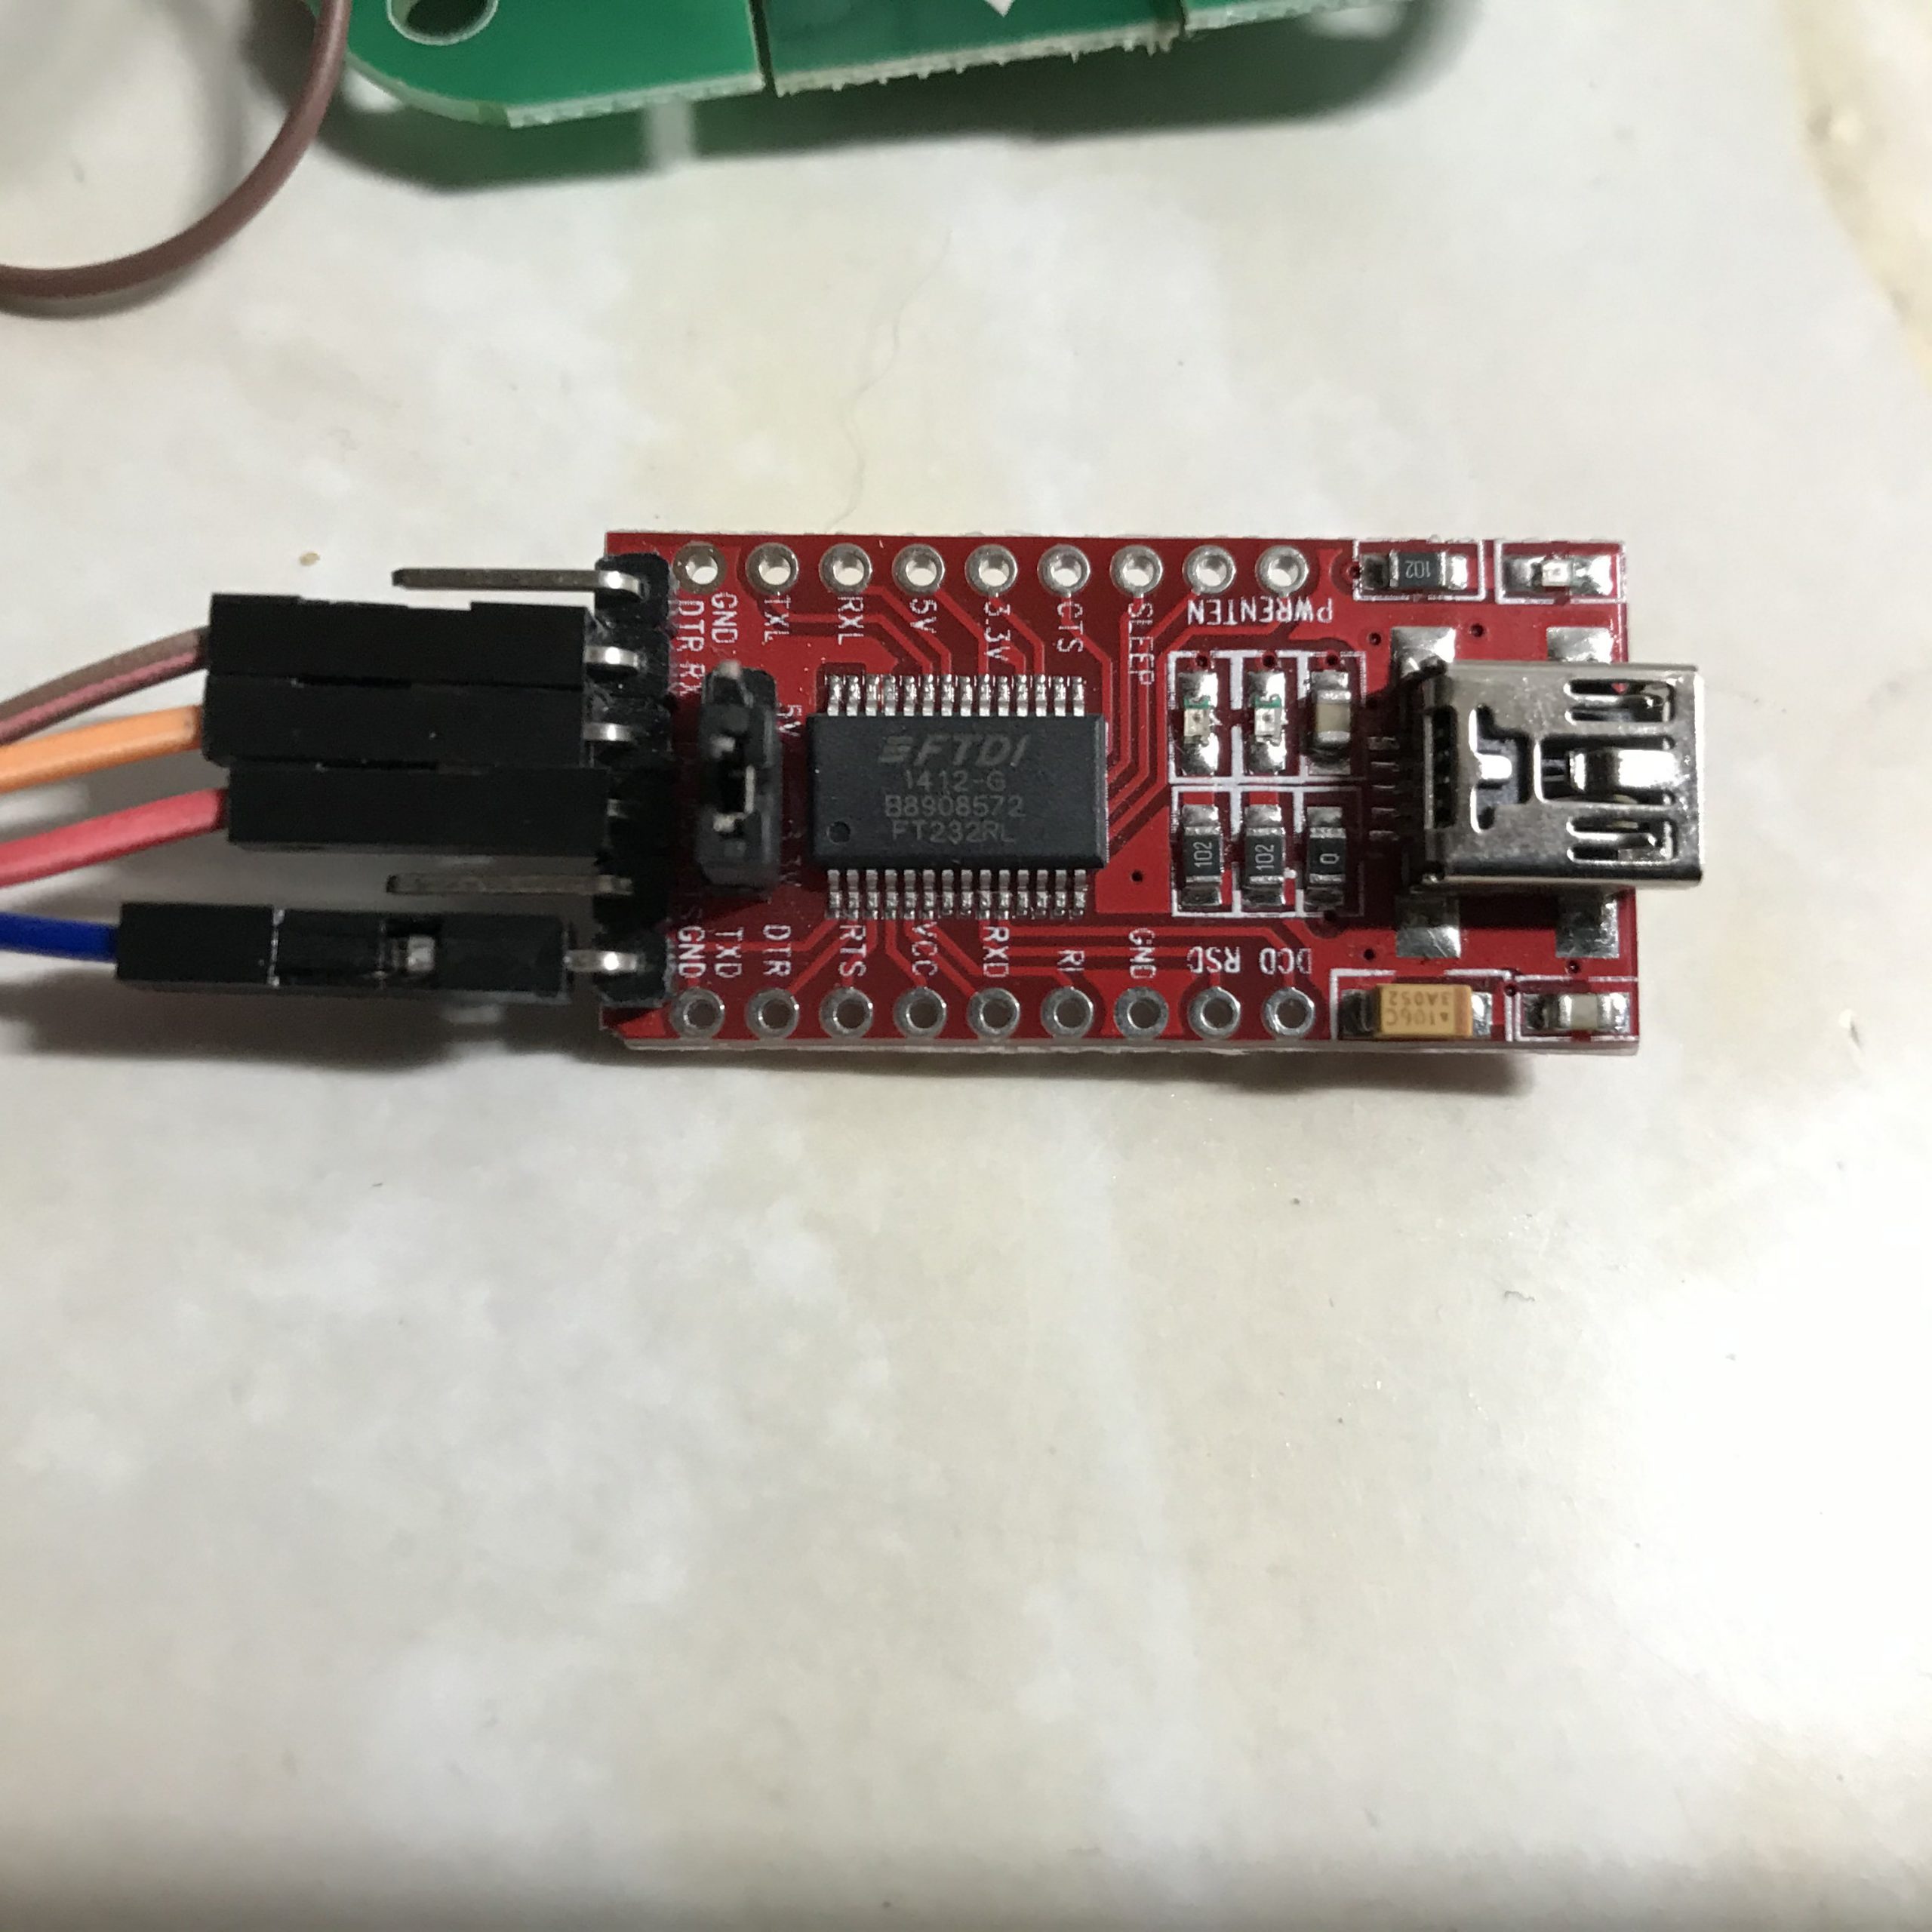
So we need to connect our flasher to the board via a few wires. Sorry about the poor light on the flasher, I did this far too late in the evening to have a decent light source.
Make sure your flasher is set to 3v not 5v! Very important before you plug anything in, it’s even worth checking with a multimeter that your flasher is following your orders and doing 3v.
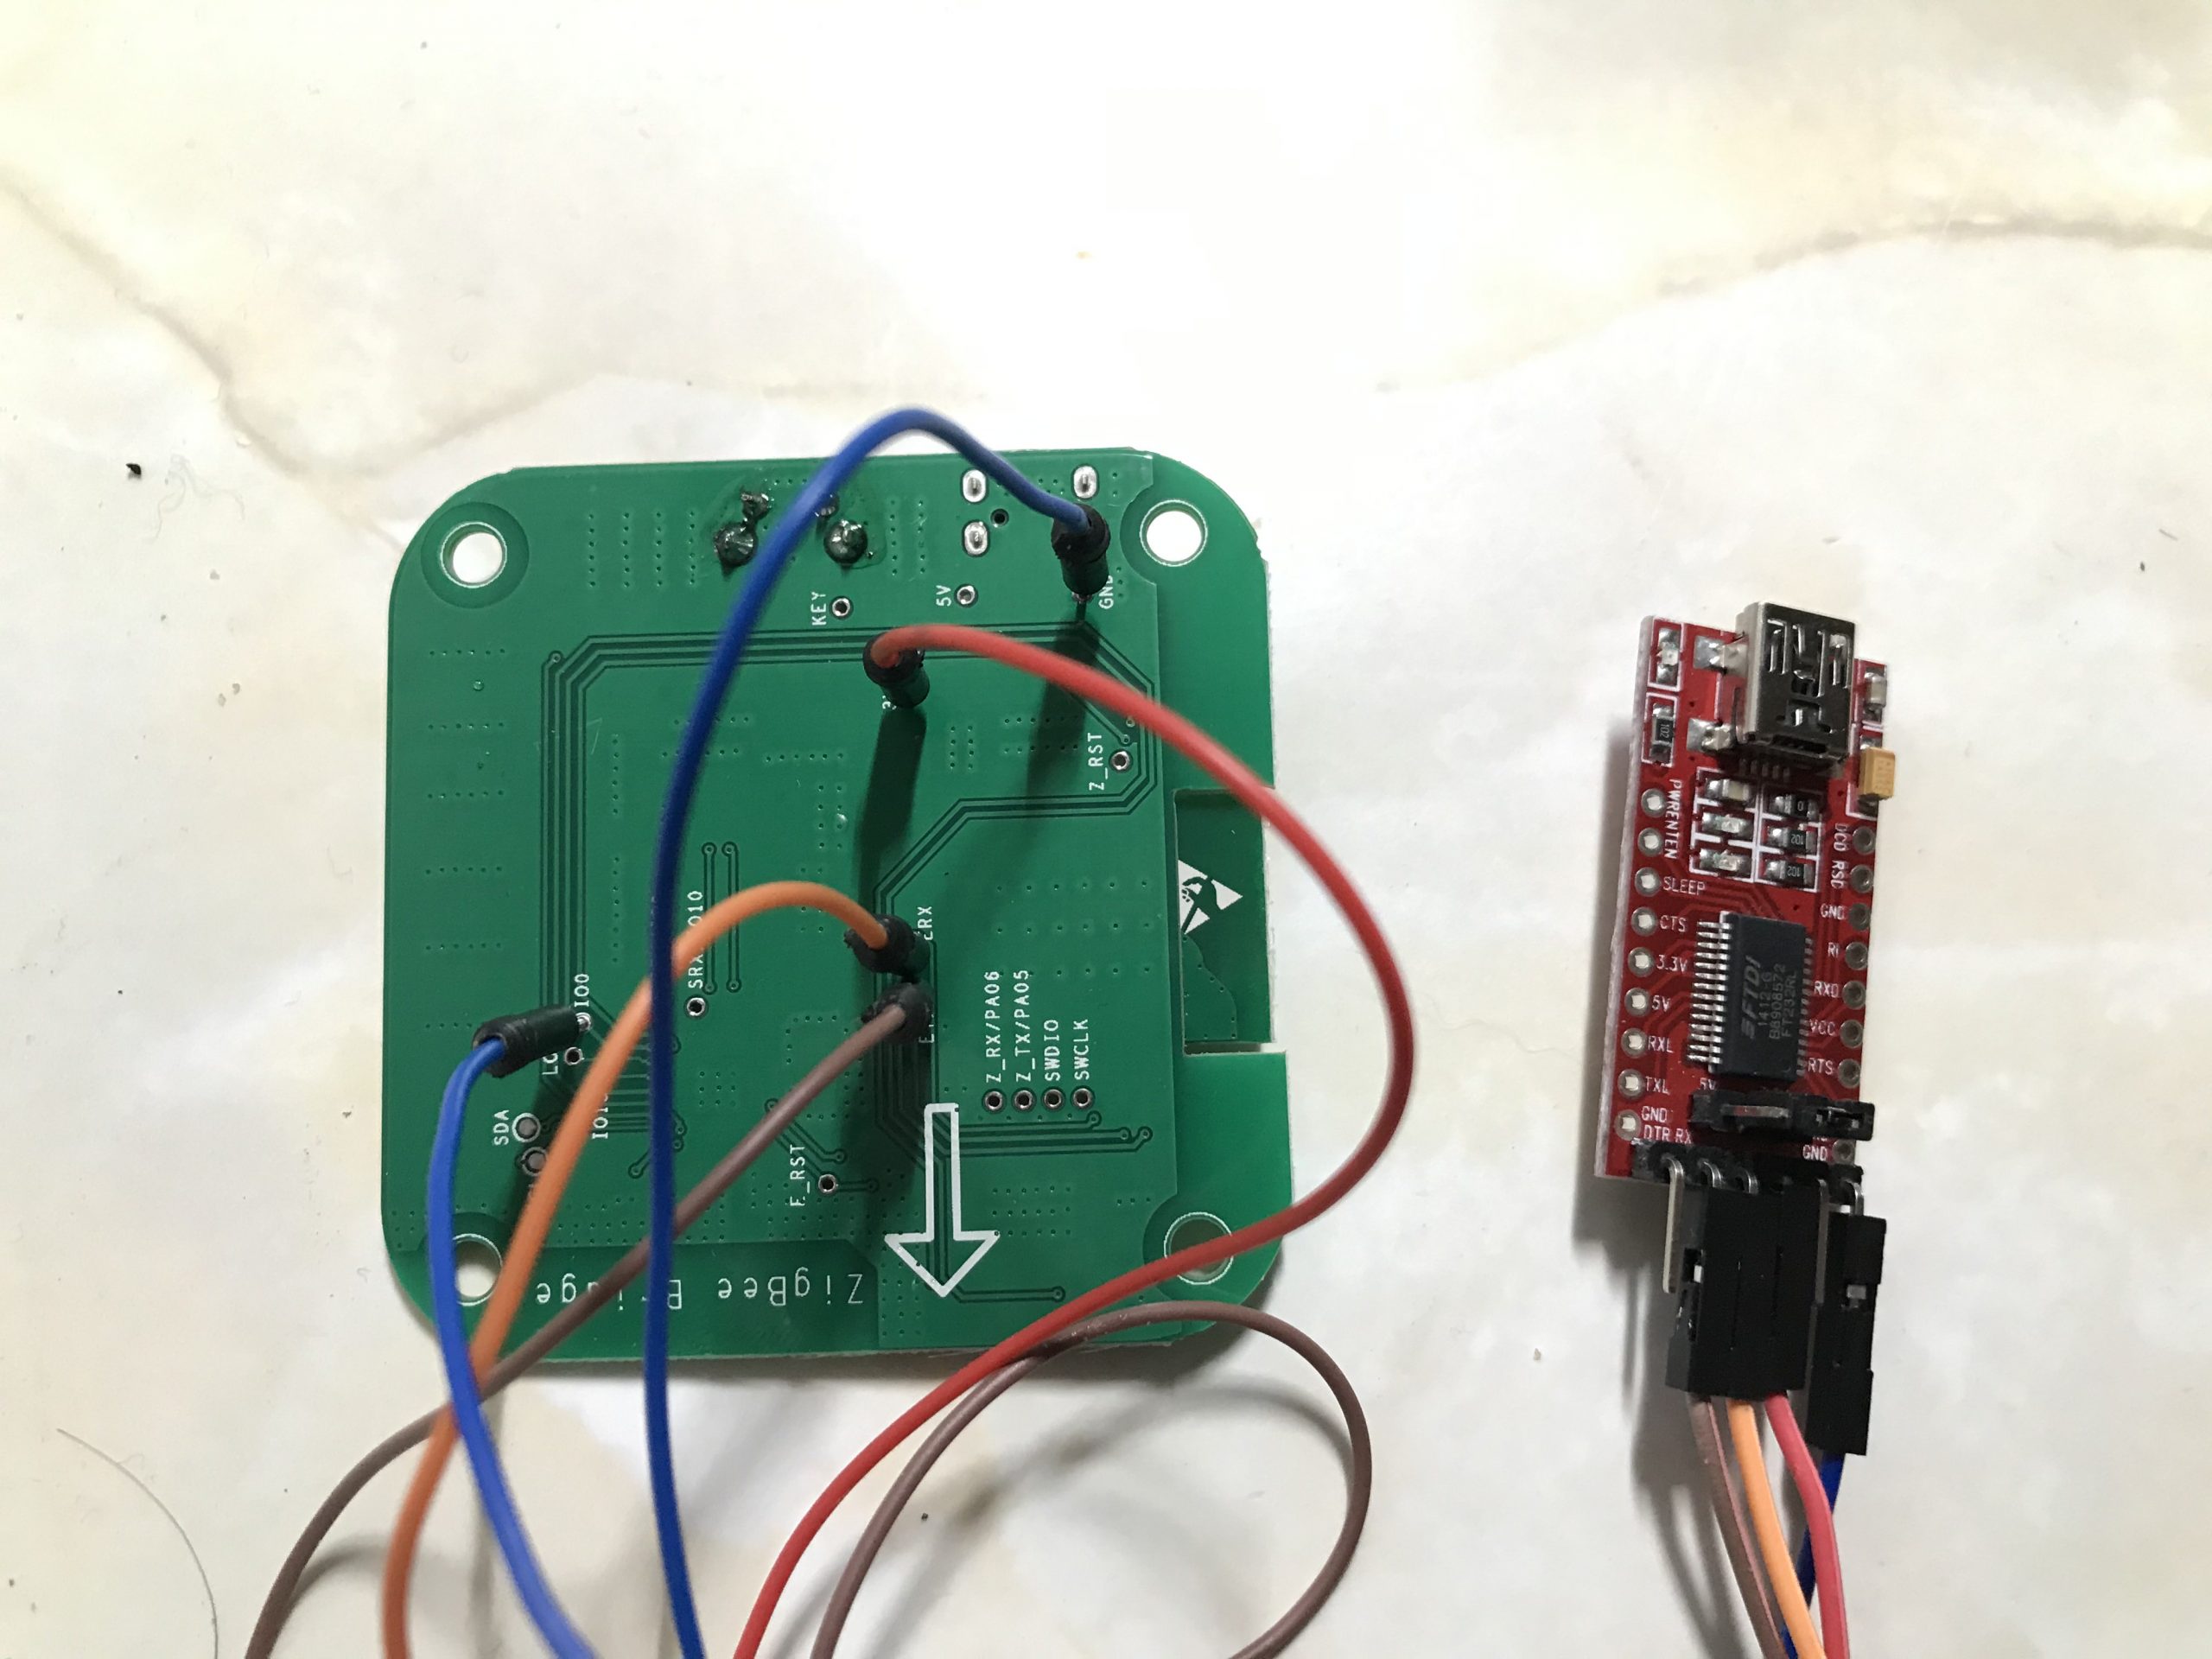
So turn the board upside down and start looking for the pins and hook them up as such:
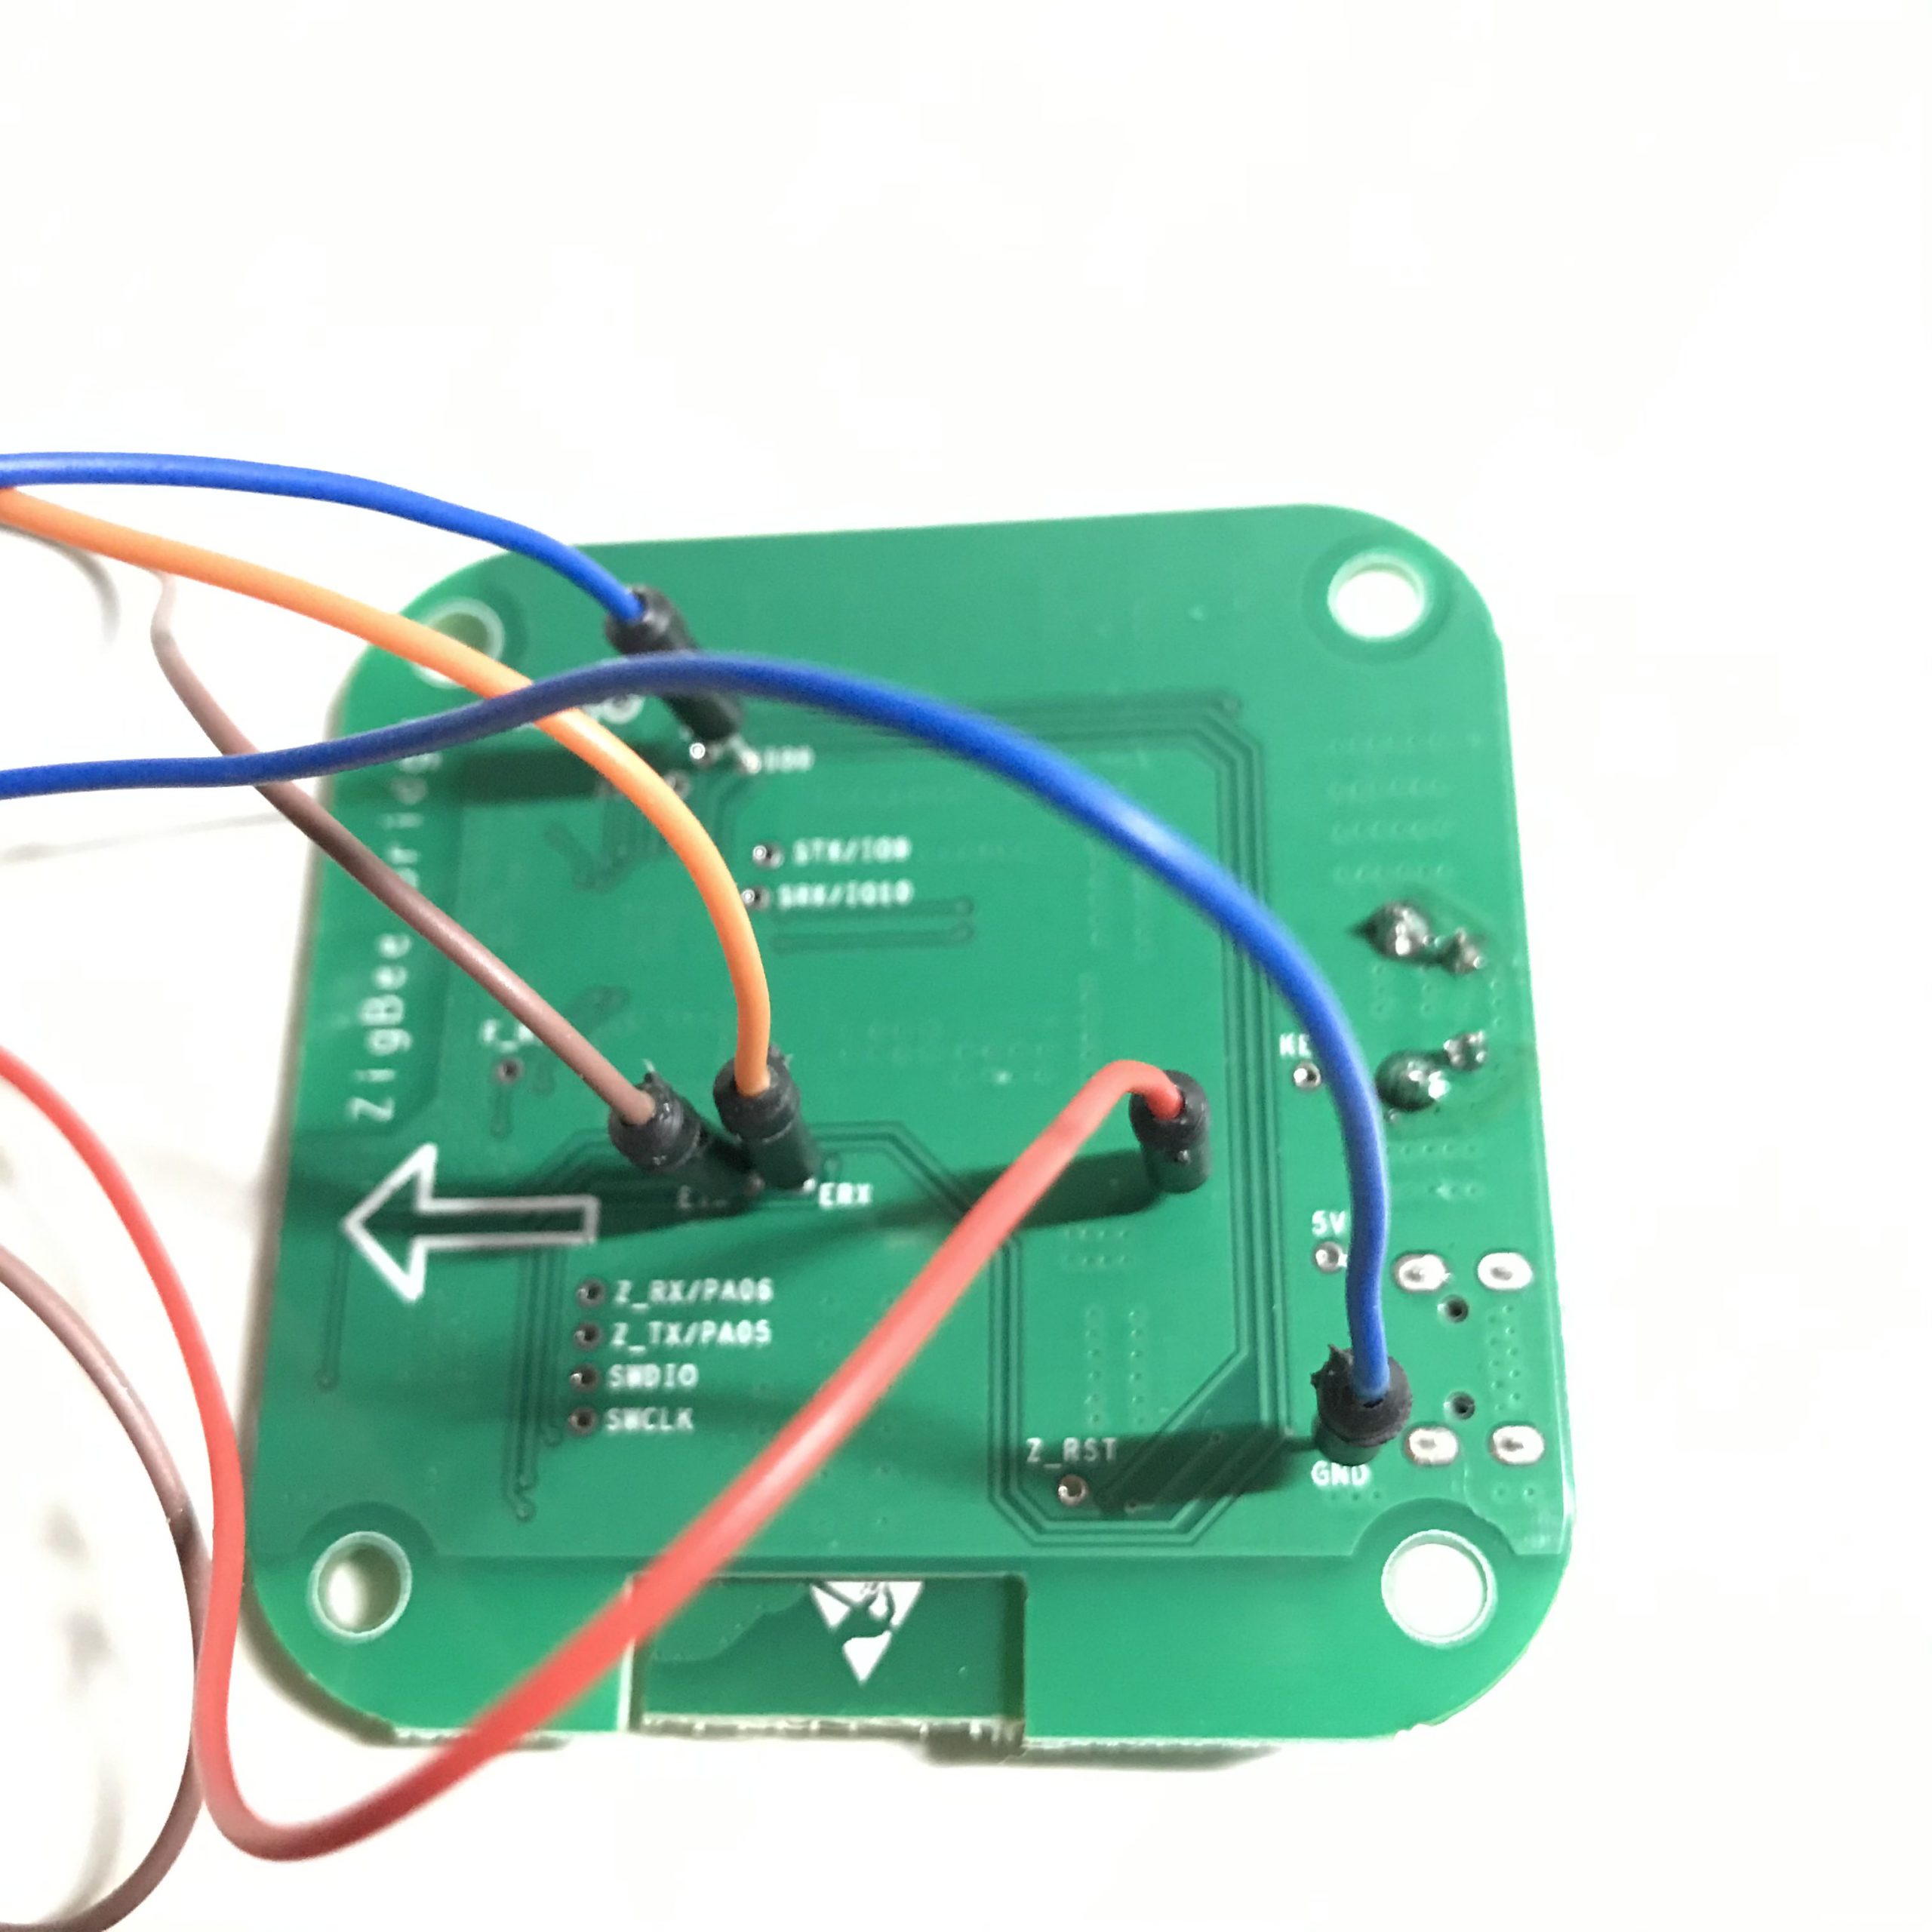
You want the following connectons between the board and the flasher:
Board / Flasher:
ETX – RX
ERX – TX
3v3 – VCC
GND – Gnd
IO0 – Gnd
So yes, you’ve two connections on the board to one ground connection on the flasher, I’ve achieved this by shoving two male pinned prototype wires into a single female – female wire.
Don’t plug in USB just yet, lets get the software sorted. Download the latest version of Tasmotizer. I did this on Windows as there’s an exe which just works. Also download the latest Tasmota firmware for it from here, the folder is fw_SonoffZigbeeBridge_ezsp, pick the latest release and download.

Open Tasmotizer, plug in the USB and it should select the com port (assuming you’ve already got the drivers for your flasher installed, if not then sort that first). Click the Release radio button and tasmota-zbbridge.bin. Press Tasmotize!
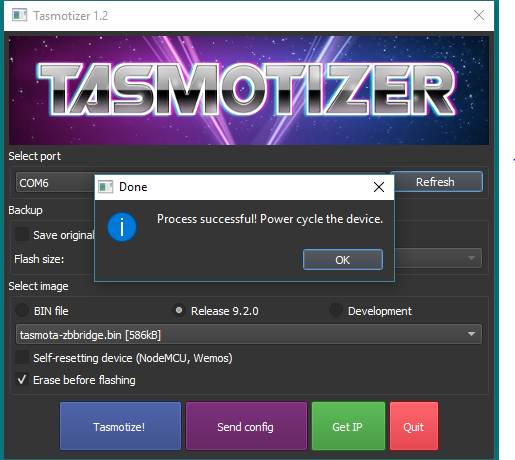
With luck you’ll get a success button. If not you may have the wrong port number. When happy, remove the usb plug, unplug all the jumper wires, pop it back in its box, screw back together. Now we need to make it talk to your wifi network and talk to homeassistant.
Give the device power by it’s usb port and open your phone and open your wifi settings. I used an iPhone but any phone will do. Select Tasmota wifi network like below:

Your phone will connect to the wifi box and then throw up a page asking for the wifi settings. You can select your wifi and enter your wifi password:

Job done, now it’s connected to wifi, it’ll reboot. Once it’s rebooted you need to find the ip address of the bridge, you do this by logging into your router and clicking on connected devices or similar. Each router is different so I can’t really help further. For instance my ip address was 192.168.0.12 for the bridge. Type this in your url bar of a browser and you’ll have access to the wifi bridge.
Click console and copy and paste this:
Backlog Weblog 3; so65 1; Module 75
Hit Enter. The bridge will restart. Now click Firmware Upgrade and select the file that we downloaded earlier and click Start Upgrade.

Once again the bridge will restart. Go back into the console and copy/paste (its all one line) the following and press Enter:
backlog rule1 on system#boot do TCPStart 8888 endon ; rule1 1 ; template {"NAME":"Sonoff ZHABridge","GPIO":[56,208,0,209,59,58,0,0,0,0,0,0,17],"FLAG":0,"BASE":18} ; module 0
Lasty copy/paste this next bit, this’ll mean it’s easier to upgrade in future:
otaurl http://ota.tasmota.com/tasmota/tasmota-zbbridge.bin.gz
So we’re done! Now you need to head over to your homeassistant installation. Click on Configure – Integrations – Add New Integration, search for Zigbee and select the Zigbee Home Automation integration.

When it asks for a Serial connection, click the drop down and select Enter Manually.

The radio type to select is EZSP.

For the serial device path type: socket://<your bridge IP>:8888 and 115200 for the port speed. Press submit. Give it a couple of minutes to configure itself and it Hassio should communicate with the wifi bridge.
Now you can go into that integration, click add new devices, pop a device into pairing mode and magically it’ll arrive and add itself as a device!
So far the items I’ve used are listed as follows:
LED bayonet dimmable retro bayonet fit bulbs
Sonoff Zigbee PIR motion sensor
Note how they all state they need hubs, but with Tasmota they all just work.
Edit.
2025, code to type into console:
backlog rule1 on system#boot do TCPStart 8888 endon ; rule1 1 ; template {“NAME”:”Sonoff ZHABridge”,”GPIO”:[56,208,0,209,59,58,0,0,0,0,0,0,17],”FLAG”:0,”BASE”:18} ; module 0